Description
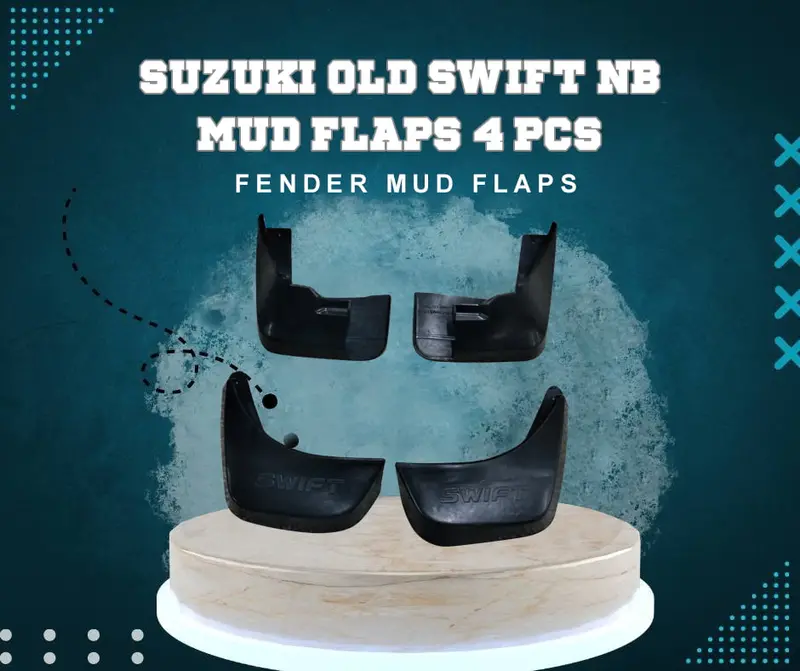
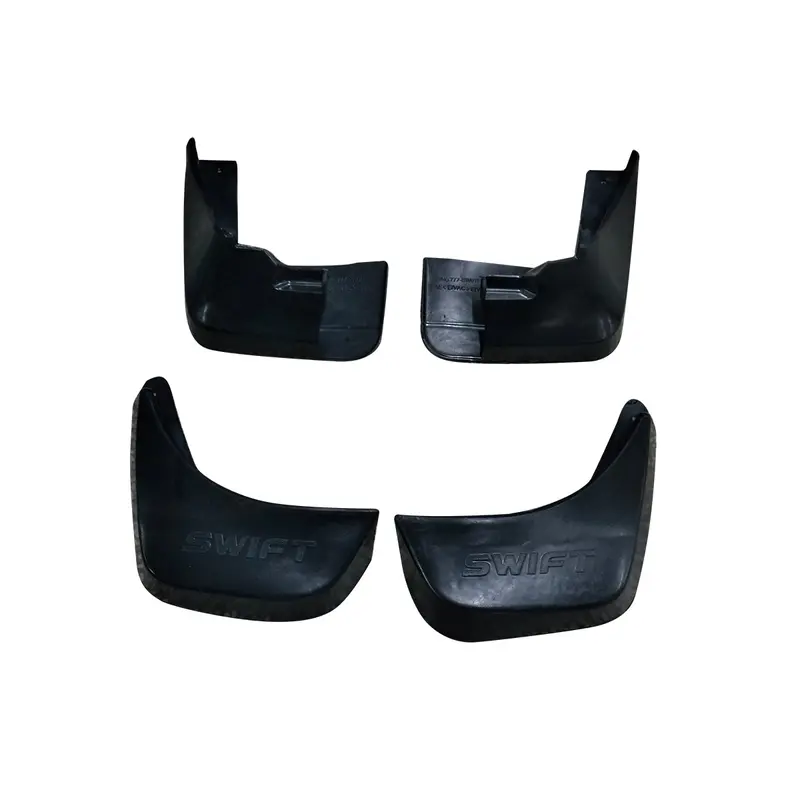
Suzuki Old Swift Mud Flaps 4Pcs 2010-2021
Guard against dirt, mud, and other road debris with Suzuki old Swift Mud Flaps 4 Pcs by SehgalMotors. Custom-made mud flaps fit your Suzuki Swift Old perfectly, providing excellent protection and a new look to the car.
Key Features:
- (4pcs front + rear) mud flaps
- Designed for strength and long life
- Blocks mud, dirt and water splashes
- Simple to install with no drilling necessary
Specific Features
Design:
These Suzuki Old Swift Mud Flaps are designed to provide your car with excellent protection for your lower body and to have an ever-popular sleek and stylish look. They are explicitly custom-tailored for your vehicle and will fit like a glove on the Suzuki Swift Old .
Material:
Constructed of high-quality, durable plastic, these mud flaps will endure for years to come. Thanks to robust design, these can be used very frequently without a shorter life span.
Performance:
These mudguards help keep the mud, water, and debris on the road where they belong. They keep your car clean and safe from rust, road grime, and other things.
Benefits:
- Helps Keep Your Car Exterior Clean
- It inhibits corrosion and the wear and tear of paint.
- Minimized washing and cleaning.
- Inexpensive means of protecting the bodywork of the car
- Simple to install, no complicated tools needed
How to Install?
Wipe down the site where you will be attaching the mud flaps.
Fit the mud flaps to the wheel arches.
Screw them down with the screws provided.
Ensure a proper fit and make sure they are screwed on tightly.
Why Choose Sehgal Motors?
Highly Durable: Our high quality automotive products are precision engineered to fit your vehicle.
Affordable: Our products offer good value for the price.
Customer Services: We’re here to help with any issues or queries you have.
Order Yours NOW and Save your Ride!
Visit SehgalMotors.pk to get your Custom Fit Suzuki Old Swift Mud Flaps and save up on protection and style at the same time. Act now to cover your auto today!
{ “@context”: “https://schema.org”, “@type”: “VideoObject”, “name”: “Install Splash Guards on Mercedes C300 – No Drill Splash Guards – Mercedes Mud Flaps Installation”, “description”: “Install Splash Guards on Mercedes C300 – No Drill Splash Guards – Mercedes Mud Flaps InstallationnnProduct Links:nA-Premium Mercedes Splash Guards: https://amzn.to/2GlXMWPnOfficial Mercedes Brand Splash Guards: https://amzn.to/2VaVvHA nClear Vinyl Protective Film: https://amzn.to/2IvepD5nAutomotive Trim Removal Tool Kit: https://amzn.to/3WhMcVdnnSplash guards are not only functional but they add a bit of subtle styling to a vehicle. And today I’m going to have you follow along with me as I install a set of front and rear splash guards to my 2015 Mercedes C300. And I’m going to do the installation without removing the wheels and no drilling.nnWhen you’re ordering your splash guards be sure to check to see if the product fits your vehicle. Even the different trim levels of the same vehicle will have slightly different body contours. So be sure to check the item before you place your order. I’m using imitation products so they’re not genuine Mercedes parts and they’re mounted to the fender of the car. Even though this is a not an official part it fits the contours in the quarter panel.nnThe kit also comes with screws and fasteners but I ended up not using them. If you have trim removal tools they’ll definitely come in handy. Before installing I’m adding an additional step of sticking on a piece of clear vinyl behind the wheel. I’m doing this to protect the paint from micro-scratches when the splash guard rubs against the finish. I’ve seen this technique used by car manufacturers to keep parts of the car body from getting rock chips or scratches. To measure the curve of the wheel, I used a piece of tin foil to wrap around the curve to get the shape I needed to cut. I ended up buying a 15 foot roll of clear vinyl but didn’t need to use very much of it. And when the air bubbles are worked out you’ll barely notice that the vinyl is there. Just remember to remove the top protective plastic when you’re done and repeat on all four fenders.nnOnce the splash guard installation is finished it really adds a finishing touch to the vehicle! They’re a really subtle styling feature and helps keep some debris from hitting the paint on the car. On the front you have full range of steering without the tire rubbing the splash guard. As you could see these splash guards were really easy to install and they only cost my $50. If you were to buy the official Mercedes brand parts, they’d cost about $200 bucks. The nice part was that I didn’t have to drill, jack up the car or remove the wheel to install these splash guards. This is easily a 1 hour job if you don’t do the clear vinyl like I did.nnIf this video was helpful please give me a thumbs up and don’t forget to hit the subscribe button to stay up to date on all my weekly videos!nnnDisclaimer: As an Amazon Associate I earn from qualifying purchases.nn****Equipment I Use For My Videos****nnCanon EOS M6: https://amzn.to/2pwQ0VqnCanon EF-M 22mm f/2 Lens: https://amzn.to/31mLfLqnTokina 11-16mm Wide Angle Lens: https://amzn.to/33TFaYHnFotodiox EF to EOS M Lens Adapter: https://amzn.to/31u3AGqnComica CVM-WM300A Wireless Microphones: https://amzn.to/31tbiADnAputure Amaran AL528W LED Light: https://amzn.to/2VRuwyKnKamerar SD-1 Camera Slider: https://amzn.to/2VUB5AxnAVermedia HDMI Game Capture Module: https://amzn.to/31phsSp”, “thumbnailUrl”: “https://i.ytimg.com/vi/HKgbTFXChdY/hqdefault.jpg”, “uploadDate”: “2019-10-28T13:30:00Z”, “duration”: “PT6M9S”, “contentUrl”: “https://youtube.com/watch?v=HKgbTFXChdY?rel=0”, “embedUrl”: “https://youtube.com/embed/HKgbTFXChdY?rel=0” }
Explore more from our collection.
Reviews
There are no reviews yet.